Workouts to Develop Stronger Fighters and Grapplers
Understanding the Pillars of Strength Training, So You Can Develop More Effective Workouts
Start Here: Download these FREE Resources
Download #1 –>> “How to Peak for Competition” – This FREE pdf can help coaches and athletes assess their current ability level and then prioritize their training to fit their individual needs.
Download #2 –>> “Are You Strong” – This infographic walks you through the basics of strength training and provides some simple ways to assess your strength levels. This is a great resource for any athlete or coach.
——————————————————————————————–
Step 1: Understanding The BIG Picture
Improving performance for fighter and grapplers, requires more than just lifting weights.
The priority is to keep fighters and grapplers healthy enough to survive their skill training. If you’ve been in the game for long enough, you’ll realize that bumps, bruises, strains, aches and pains are part of fighting. So, when an athlete walks in with a strained shoulder on your upper body day, you better be flexible and have some other options.
Bottom line: It helps to have a wide knowledge base…understanding things like recovery, mobility, stability, strength, energy systems, speed and power development will help you develop better workouts for your athletes and help them reach their full potential.
The following article will discuss one aspect of sports performance: Strength.
We will eave topics like mobility, stability, power development and conditioning for another article.
 How does strength fit into the performance puzzle?
- Should we lift heavy weights?
- How’s Your Cardio?
- What about plyometrics?
- Is bodyweight training effective?
There are lots of lots of things to consider.
Mobility drills, corrective exercise, bodyweight workouts, conditioning, agility, plyometrics, medicine ball work, sprints, roadwork, lifting weights, strongman stuff, kettlebells, etc.
Our friend, Nick Tumminello has a great perspective:
Machines, bodyweight, kettlebells, barbells, etc…these are all complimentary training tools on the tool-belt because trainers are like carpenters who use exercise to build and improve stuff. And, when you’re not blinded by fanaticism, you realize that improving general health, building muscle, and increasing functional capacity requires several different exercise components because no single type of exercise will ever be able to address such multifaceted demands fully. Therefore, a mixed approach to exercise programming that utilizes a variety exercise modalities will likely provide superior training results when compared with exclusively using only one type of exercise.
The internet and social media is loaded with information
Knowing where to start or what type of workout to perform can be confusing.
Luckily, we’ve developed a flow chart that explains how to prioritize your workouts, so you consistently stay healthy, improve, and perform at your best.
Download this flow chart –>> “How to Peak for Competition“
This chart will walk you through a simple thought process for developing different workouts for different goals.
——————————————————————————————–
Step 2: Understanding Strength

Muscular strength is defined as the maximum amount of force that a muscle can exert against some form of resistance in a single effort.
Children roll, crawl, climb, walk, run, play and interact with the environment around them. This might seem insignificant, but this early activity helps us develop body awareness, coordination, control and speed.
As we get older, our bodies are able to handle more work, heavier loads and more intense tasks.
Once we get passed puberty, our bodies are primed for growth, building muscle and increasing strength.
Bodyweight, dumbbells and barbells are the most common tools, but we can use sandbags, kettlebells, ropes, bands, and other implements to challenge our bodies in a variety of ways. Just like a carpenter, the tool that we use, is determined by the task at hand.
Some people might be new and simple bodyweight exercises may be a great place to start.
Others might want to increase the intensity by adding more weight to the bar.
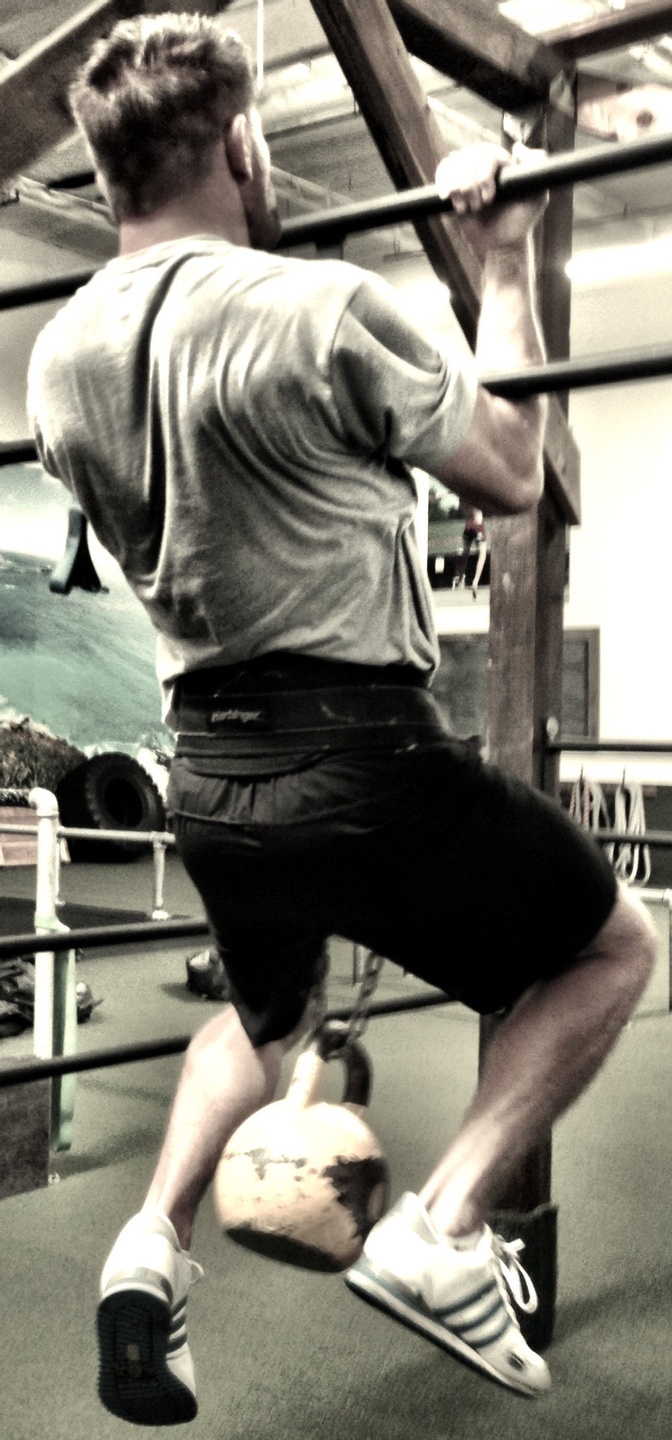 What exactly we do in the gym depends on you and your goals.
- What tasks are you trying to perform?
- Are your goals performance or aesthetic?
- What exactly are you training for?
- How long have you been training?
We’ll go through this information in more detail a bit later…but no matter what the tool, workout or goal, this next part is essential.
Let’s Start with an Assessment… A few simple tests to determine your level of strength.
Relative Strength Tests
Push Ups – 1 minute for reps
How many strict, full range push ups can you perform in one minute.? All the way up, all the way down, with a straight body/
Pull Ups – 1 minute for reps
Palms forward, palms neutral or palms back…do as many full range, strict pull ups as you can in one minute. No swinging or kipping allowed.
Max Strength Tests
*Do not use max tests if you are unfamiliar or inexperienced*
100′ Farmer Carry
Grab two of the heaviest weights that you can hold, while maintaining good posture, and walk for 100 feet. Eyes forward, head up, shoulders back.
Squat – 3 reps
We typically use barbell front or back squat for this test, but please use other variations that you feel comfortable performing. Good posture, feet flat, full range of motion (thighs just below parallel) for 3 solid reps.
The goal of these tests is to get a baseline and see where you stand. We can use these numbers to monitor progress throughout the program.
The Key to Increasing Your Strength is By Consistently Overloading the System
Consistency wins every time.
Show up consistently for 5 years and I guarantee you’ll get people’s attention.
Miss a day here and there, skip workouts and you’ll struggle to improve.
As you consistently show up, you’ll gather momentum and we can really begin to make some progress.
Overload the system by manipulating the variables.
We can manipulate a variety of exercise variables to constantly challenge our body in new ways.
Exercise Variables include:
- Movement Pattern
- Exercise Selection
- Intensity
- Volume
- Rest
- Frequency
By changing these variables, we can force our body to adapt…which means new strength and added muscle!
Lets go thru some of these exercise variables in more detail.
——————————————————————————————–
Step 3: Breaking Exercise Down Into Movement Patterns

No matter who you are and what your goal may be, every human being is designed to move. Like we said before, we crawl, walk, run, climb, throw, jump, squat, pick stuff up, push, pull, and carry stuff. These are all movement patterns that we use in the gym, during competition and throughout everyday life.
All exercises can be organized into one of these movement categories.
The next step is to determine which patterns need to be improved and then systematically stress those patterns to improve movement efficiency, strength and eventually power.
——————————————————————————————–
 Step 4: Exercise Selection
Before we randomly choose and exercise, we need to understand the person that we are working with and the goal that they are working towards.
- What is that person’s ability level?
- Do they have limitations, injuries or asymmetries?
- How long have they been lifting?
- Etc.
In order to keep our athletes healthy, we should use exercise regressions and progressions that allow them to perform it correctly, while stimulating the system enough to force the adaptation that we are looking for.
This where a little experience and knowledge goes a long way.
Choosing the appropriate exercise for the job is essential.
Assuming that everyone can pick stuff up and throw it over their head is a recipe for disaster.
Athletes must earn the right to do certain exercises.
For example: Lets take a look at the hinge.
Most coaches, athletes and gym rats typically think of deadlifting, when they think of the hinge…
But what if someone doesn’t know how to hinge correctly?
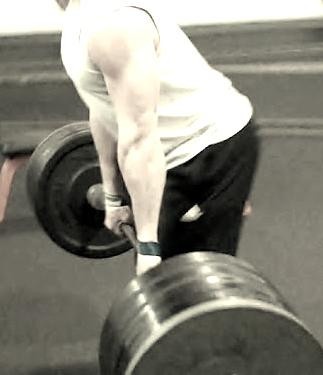 Where do we go from there?
The answer is that we use progressions and regressions to safely teach a person how to move and manipulate load.
Here’s a sample progression for the hip hinge:
- Glute Bridge
- Single Leg Glute Bridge
- Marching Glute Bridge
- Barbell Hip Extension
- Standing Banded Hip Extension
- Kettlebell Deadlift
- Hex Bar Deadlift
- Sumo Deadlift
- Barbell Deadlift
See how we went from simple to more complex?
We started with bodyweight and slowly added load?
These are all ‘hinge pattern’ exercises, but require increasing levels of body awareness, mobility, strength and control. By using these progressions, we allow the athlete to slowly develop strength and awareness, without overloading their system too quickly.
The cool part is that we can walk our athletes through this type of progression for ALL of the movement patterns.
Hinging, Squatting. Pushing, Pulling, Carrying, Crawling, Jumping, Running, Throwing, etc.
There are systematic ways to progress anyone through these movement patterns and make them stronger.
It just takes a little time to determine what exercises are harder or easier and then program them into our workouts accordingly.
——————————————————————————————–
Step 5: Intensity
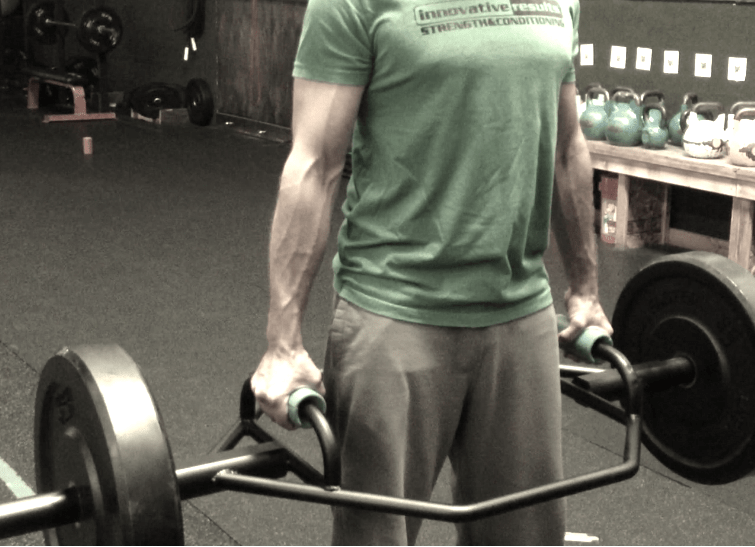
Intensity is basically how heavy, how complex or how fast the exercise is performed.
Just like when you are learning a new combination, takedown or submission, we should always start slow, learn technique and practice, before adding intensity.
How do we add intensity to our workouts?
We can adjust the number of reps to coordinate with the intensity of the exercise. Typically higher reps are done with less intense drills. Lower reps with higher intensity drills.
It might look something like this:
Strength Endurance / Work Capacity – 12-30 reps – this a great place to start. The loads should be relatively light, the exercises are simple and the focus is on form and technique. This type of work builds strength endurance and lays a great foundation for more intense work down the road.
Hypertrophy – 6-12 reps – As we reduce the number of repetitions, we should be increasing the intensity of the movement. Typically this is done by increasing the load, but make sure as you increase the intensity, you don’t sacrifice form and technique.
Max Strength – 3-6 reps – You should have a lot of time under tension, before moving on to this group. These are typically done with heavy loads or done as quickly as possible. Mastery of the movement is essential before walking into this category.
Using guidelines like this can ensure the athletes’ safety, long term health and consistent progress over time.
There’s no one best set/rep scheme for every goal, but there are plenty of great plans to choose from, all time-tested and proven to work.
——————————————————————————————–
Step 6: Tempo
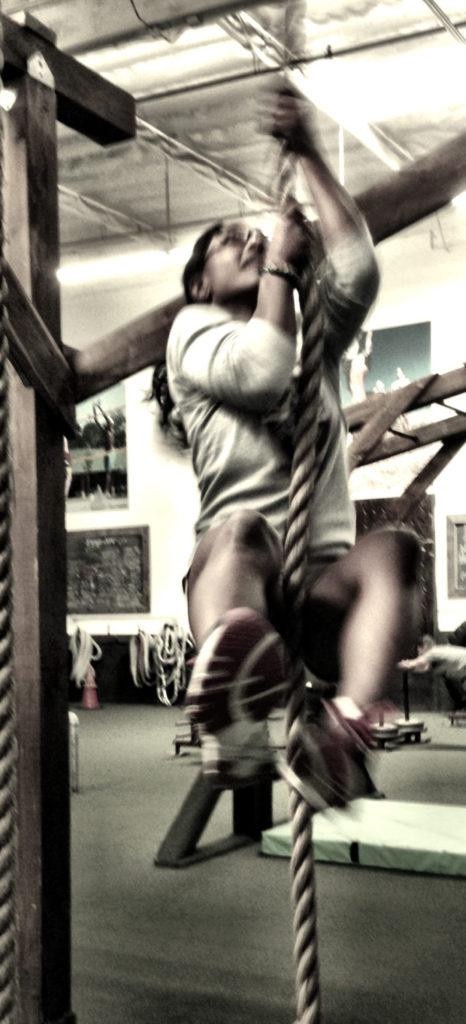 When performing traditional lifts, there are basically 3 parts to each movement: Eccentric, Isometric, Concentric
Lets use the bench press as an example.
1. Eccentric Contractions Involve the Muscle Actively Lengthening.
During the bench press, the eccentric portion would be while we lower the bar to our chest.
2. Isometric Muscle Actively Held at a Fixed Length.
During the bench press, if we stopped and held any position, this would be considered an isometric contraction.
3. Concentric Contractions are defined as the Muscle Actively Shortening
During the bench press, this would be the portion as we press the bar off our chest and back to the top position.
Although this aspect of lifting is commonly overlooked, manipulating the tempo of our lifts is one of the most effective ways to build muscle and increase strength.
————————————————————–
Step 7: Volume – How Much Is Enough?
Our good friend, Martin Rooney, has a great way of explaining volume.
If the bottle says to take 2 ibuprofen, would you take 12?
One or two drinks is fine, but 15 is excessive.
The same concept should be used when developing workout programs. Low intensity exercises can be done for more reps and/or longer periods of time. Higher intensity exercises should be done in shorter bursts. When used incorrectly, we either do not stimulate the system enough or run ourselves down by doing too much.
For example, performing high intensity exercises for long periods of time frequently leads to overtraining, fatigue and eventually injury.
The key is to do the least amount of work, while still getting the desired benefit.
Stimulate, don’t annihilate
——————————————————————————————–
Step 8: How Long Should We Rest?
How much time do you typically rest between sets at the gym?
Some people do a set and then talk to their buddies, while others want to rush from exercise to exercise to spike their heart rate.
Depending on the goal of your program, your rest periods should adjust accordingly.
Less intense exercises require less rest between sets.
The more intense the exercise, the more rest you should take between sets.
For example, if you are trying to gain strength and are performing 5 reps at 85% of your max, you should take between 3-5 minutes off between sets.
——————————————————————————————–
Step 9: Frequency
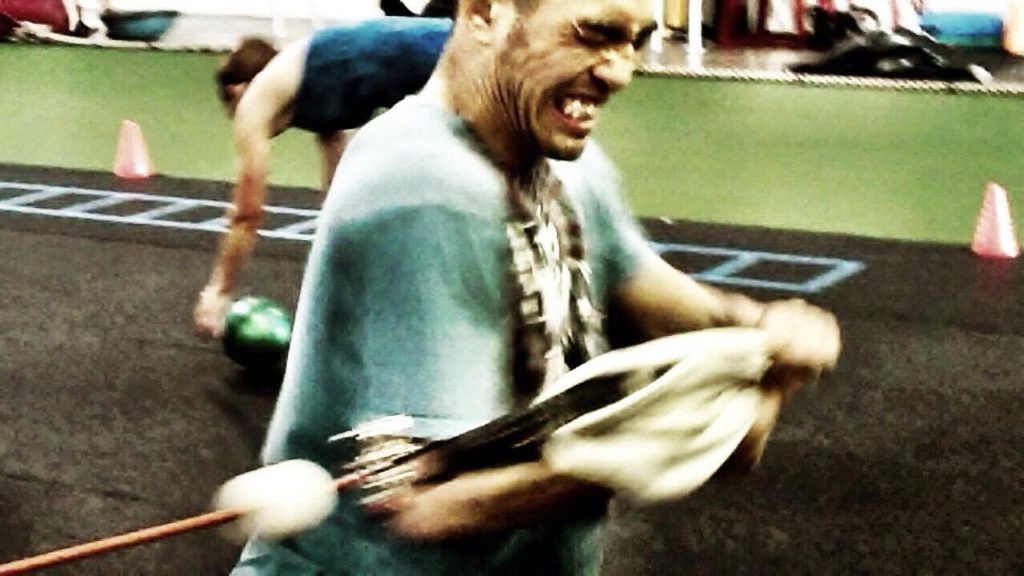
How often do you train?
Body builders will do a different body part each day, typically on a 5-6 day split.
Powerlifters might Squat one day, bench another and deadlift the third.
Others will do total body workouts two or three times per week.
The key is to create a schedule that stimulates the body and allows enough recovery between sessions.
This is a very important aspect of training, when working with fighters and grapplers.
Training for combat sports can takes its toll on the body.
Wrestling, sparring, rolling, drilling, are hard on our system.
When we add strength and conditioning to the mix, overreaching, overtraining and overuse injuries are very common.
For most athletes, training once per day is enough.
If you are training once per day and interested in combining strength and skill work, your week might look something like this.
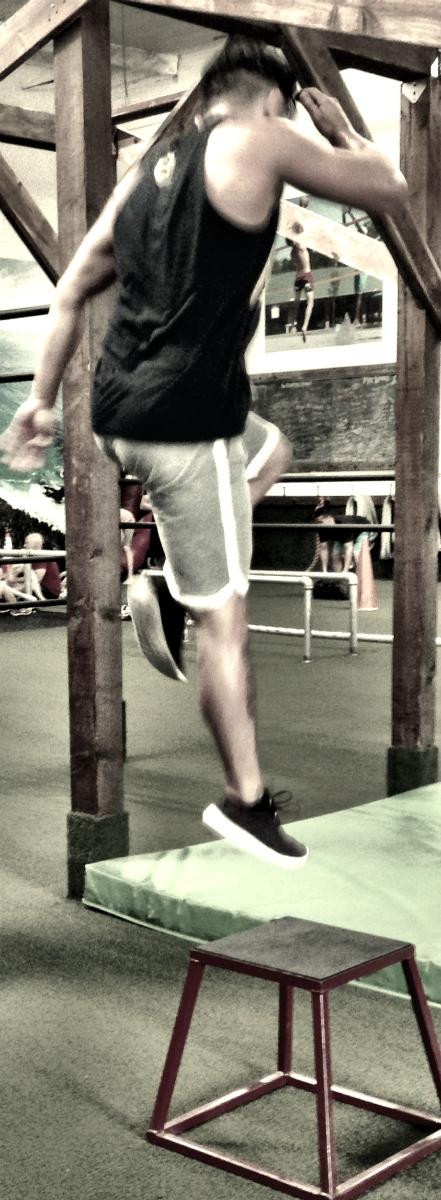 Sample Week:
Monday – Skill Training
Tuesday – Strength and Conditioning
Wednesday – Skill Training
Thursday – Strength and Conditioning
Friday – Skill Training
Saturday – Strength and Conditioning
Sunday – OFF
This is just one example, but the point is that you need to develop a plan, test the plan and see how it works out for you.
Some people will do less, while others can handle more.
——————————————————————————————–
Step 10: Putting It All Together
So where do we start?
Skill training should be the priority for most athletes.
Learning the basics, drilling, developing your skill set and applying those techniques is priority number one.
Strength training is supplementary and should help improve strength, athleticism, and keep the athlete healthy.
Start by determining your training schedule for the week, competition dates, etc.
Get all of that stuff written down and discuss it with your coaches.
Its vital that everyone is on the same page here.
Next, figure out what days and times you have available for strength work.
For some it will be 30min after practice, while others might schedule two or three days to hit the gym.
Make sure that you include exercises from all of the various movement patterns each week.
- Choose exercises that you can perform correctly.
- Use rep ranges that fit your goals.
- Keep the volume under control…Quality vs Quantity
- Adjust the rest periods to match the intensity…less intense, less rest needed…more intense, more rest.
- Develop a schedule that syncs well with your skill training and allows time to recover mentally and physically.
- Remember its about stimulating the body, not annihilating it.
For most, they can get in the gym, do work and get out, without wasting a lot of time.
Conclusion
Developing the right workouts and schedule may take a bit of trial and error, but its worth the effort.
Use some of the tips that discussed, determine your training schedule, assess your needs and get to work.
When used correctly, these principles can save you a lot of energy, time and avoid setbacks.
Now get out there and do some work!
#FightCampConditioning
————————————————————————————–
More Sample Workouts:
We typically work in 3 week blocks, with one primary goal for that 3 week block. The focus of these workouts is to develop strength and/or build muscle. Once your strength is sufficient, you can start using workouts develop to increase force production, which is included in our Develop the Athlete Module. These can also be used in coordination with less intense sessions to keep the athlete healthy.
Block 1: Build the Beast Workouts
Block 2: Build the Beast Workouts
Block 3: Build the Beast Workouts
Block 4: Build the Beast Workouts
Block 5: Build the Beast Workouts
Block 6: Build the Beast Workouts
Block 7: Build the Beast Workouts
Block 8: Build the Beast Workouts
Block 9: Build the Beast Workouts
* Customize these workouts to fit you or your athlete’s specific ability level and goals.
#fightcampconditioning


